How to Create an Outdoor Lighting Plan for Your Home?
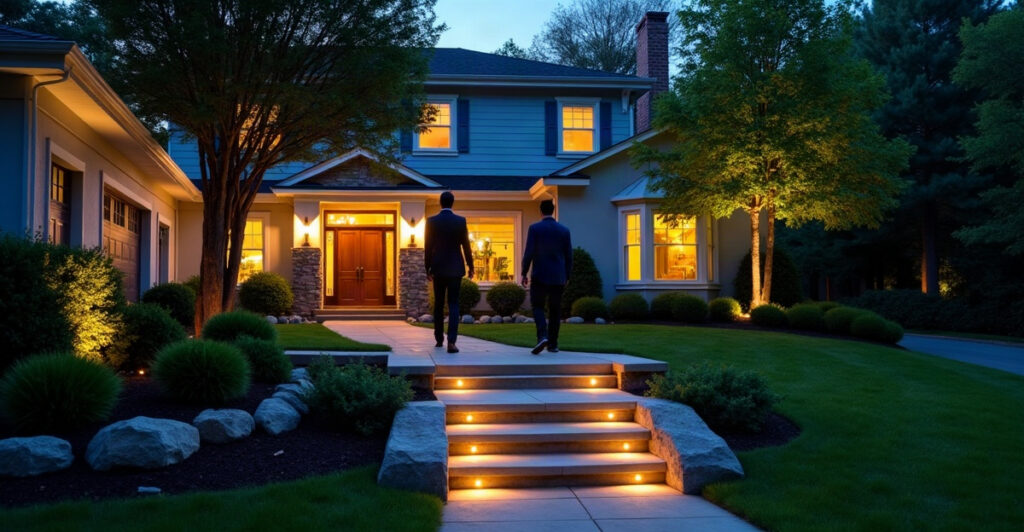
An effective outdoor lighting plan starts with safe access at entries, walkways, steps, driveways, and outdoor living spaces. We address these essentials before adding architectural or landscape accents. By mapping the property in daylight and after dark, we can choose suitable fixture types, brightness levels, beam direction, controls, and installation methods for every zone.
Key Takeaways
- Prioritize high-traffic and higher-risk areas, including front doors, paths, stairs, garage approaches, gates, patios, and decks.
- Create a site sketch that identifies property features, activity zones, power access, utility locations, shadows, glare concerns, and nearby property lines.
- Use layered lighting: path and step lights for safe movement, task lighting for active outdoor spaces, and accent lighting for landscaping and architectural features.
- Match brightness, color temperature, beam spread, shielding, and controls to each zone for clear visibility without glare or unwanted light spill.
- Confirm electrical needs, weather ratings, local requirements, maintenance access, and professional installation needs before finalizing the design.
Start With Safety, Access, and the Areas We Use Most
A strong outdoor lighting plan starts with the places that need clear, dependable visibility every day. We first define the result we want: safer movement, visible entries, better curb appeal, usable outdoor living areas, highlighted landscaping, easier parking, or convenient holiday displays.
We prioritize high-traffic and higher-risk areas before decorative features. The front door, driveway, garage approach, walkways, steps, gates, side yards, deck or patio transitions, and outdoor seating areas should lead the plan. This order keeps the project practical: first safe movement and entry access, then functional activity lighting, followed by architectural and landscape accents, with seasonal lighting last.
Outdoor lighting improves visibility and helps us see entrances, paths, and activity areas after dark. It can support a safer-feeling property, especially with a well-planned security lighting installation. Still, lighting does not guarantee crime prevention or replace locks, alarms, cameras, secure gates, and other protective measures. For a complete approach, our security lighting ideas can help us consider where coverage makes the most sense.
Home outdoor lighting should serve the property before it decorates it. Once safe access and essential activity zones have reliable illumination, the rest of the design can add depth, comfort, and a more finished nighttime appearance.
Map the Property Before Choosing Fixtures
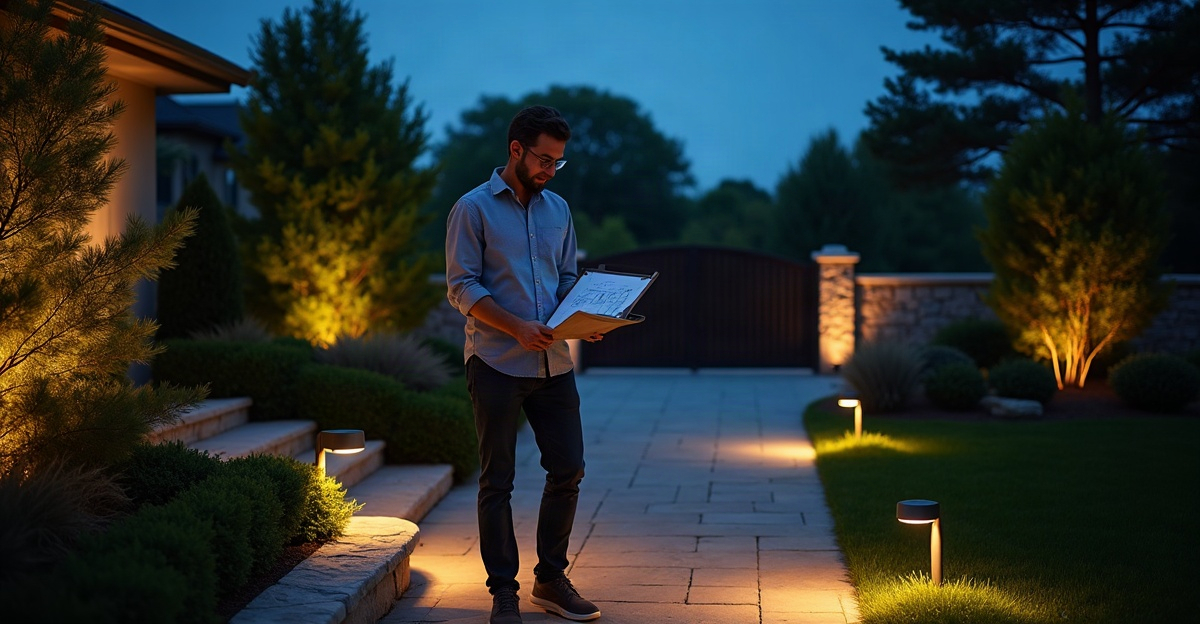
Before selecting fixtures, we walk the property in daylight and again after dark. Daytime reveals grades, planting beds, building materials, power access, utility locations, drainage patterns, and fixture mounting options. A nighttime walk exposes shadows, dark corners, tripping hazards, glare, existing light sources, and locations where light could spill into neighboring yards.
We create a simple site sketch instead of guessing at placement. The sketch should show entrances, walkways, steps, driveway edges, the garage, patios, decks, retaining walls, trees, planting beds, rooflines, trim, siding, property lines, and known utility locations. We also note how each area functions: daily arrival, guest access, dog walking, grilling, entertaining, gardening, vehicle parking, relaxing, or seasonal decorating.
This mapping process answers the central question of how to plan outdoor lighting: every fixture should have a reason, a location, and a specific job. Generic advice to place lights around the yard often leads to uneven coverage, wasted fixtures, and unnecessary glare. Placement should respond to the property’s features, intended use, safety needs, architecture, landscaping, and nearby homes.
Architecture matters from both the street and the yard. We assess rooflines, gables, columns, stonework, trim, siding, and the visual weight of nearby landscaping. The goal is a unified result that appears intentional after dark and remains unobtrusive during the day. For roofline systems, component visibility deserves early attention. A professional permanent installation can integrate closely with trim and architectural lines rather than looking added on.
Gathering examples also helps us communicate the desired effect. Our front-of-house lighting ideas and lighting project gallery offer useful reference points for entryways, façades, rooflines, and landscape focal points.
Build Lighting Layers for Paths, Living Areas, Landscaping, and Architecture
A balanced landscape lighting plan uses layers rather than relying on one bright fixture to cover everything. Each layer has a different purpose, and together they create a more comfortable, controlled result.
Safety and Task Lighting
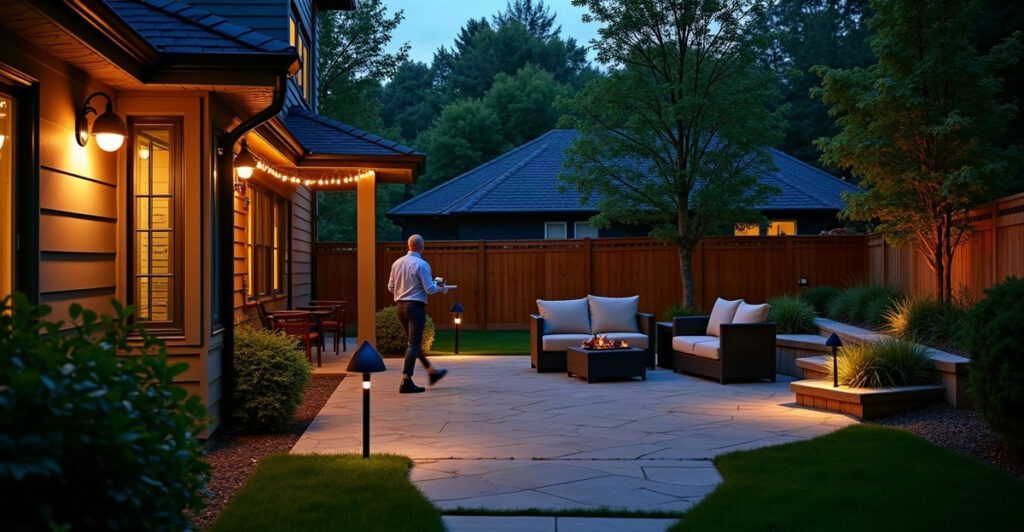
Safety and navigation lighting guides movement along paths, driveways, stairs, gates, and entries. Path lights work well along walkways when they are spaced to define the route without creating a runway effect. Step lights provide useful visibility at elevation changes. Downlights mounted in trees, structures, or eaves can cast controlled light over walks and seating areas while keeping fixtures less visible.
Task lighting supports the activities that happen outside. Patios, decks, outdoor kitchens, grills, and seating areas need enough light for cooking, serving food, reading, and moving around comfortably. Deck, rail, and hardscape lights can define stairs, retaining walls, and gathering areas without putting a bright source at eye level. String lights can create casual temporary ambiance over a patio, but they do not replace properly installed path or step lighting.
Broader floodlights or motion-activated fixtures suit selected driveways, side yards, garage approaches, and service areas. We use them carefully. Their output and aiming should cover the intended area without flooding windows, patios, or neighboring properties with harsh light.
Accent and Architectural Lighting
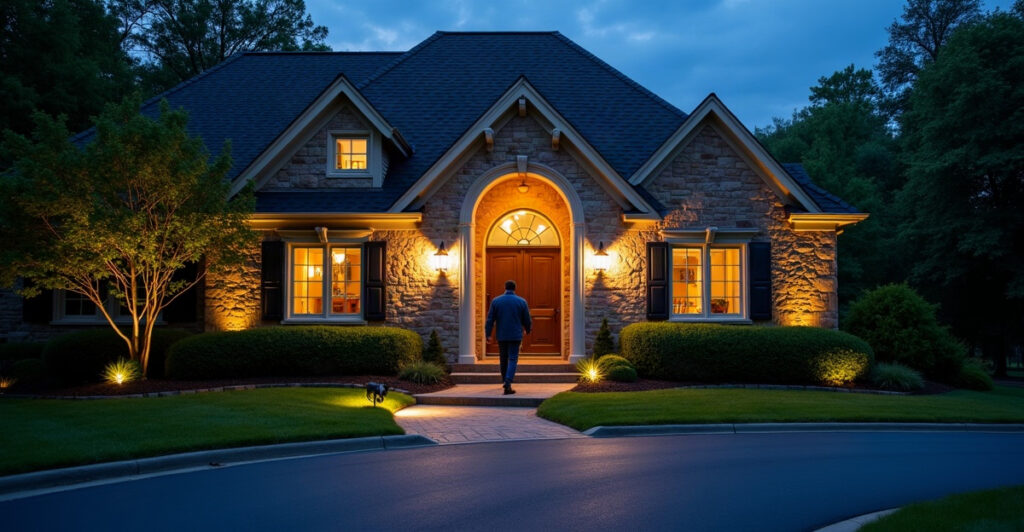
Accent lighting adds depth by drawing attention to trees, planting beds, stonework, fountains, garden art, and other focal points. Uplights can reveal the structure of mature trees, textured walls, and columns. Downlights can provide a softer moonlit effect over garden areas. Our landscape accent lighting approach focuses on selective highlights that support the full scene rather than competing for attention.
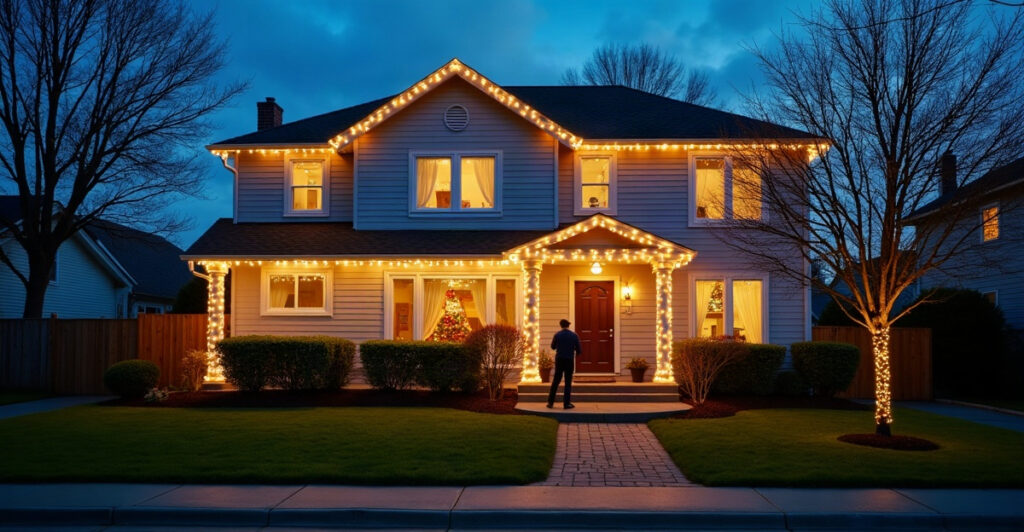
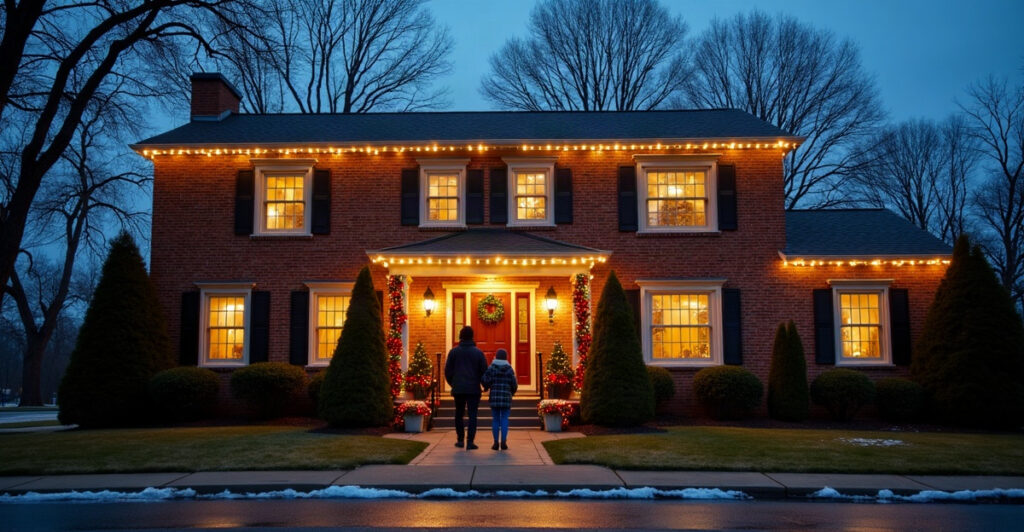
Outdoor architectural lighting emphasizes façades, eaves, gables, rooflines, columns, and other defining home features. Permanent exterior lighting is especially useful for year-round architectural accents and simplified holiday displays. Unlike low-voltage landscape fixtures, permanent systems typically mount along the building exterior and illuminate the structure from a fixed location. They work well where clean daytime integration, programmable colors, and repeatable scenes matter.
Low-voltage landscape lighting suits paths, beds, trees, walls, and garden features. Security fixtures serve coverage and visibility needs. String lights serve temporary ambiance. Permanent systems serve rooflines and exterior architecture. Treating these options as separate tools produces a clearer, better-performing design. For additional inspiration, review our outdoor landscape lighting ideas.
Choose Brightness, Color, Beam Direction, and Controls That Work Together
Brightness should match the job. Entries, stairs, active-use areas, and vehicle approaches need clear visibility. Accent areas usually need softer, focused light that reveals form and texture without overpowering the yard. Making every zone equally bright flattens the design and increases glare.
Color temperature also shapes the result. Warmer white light often complements residential architecture, wood, stone, and landscaping. Adjustable-color smart systems can provide comfortable everyday white light while also supporting seasonal colors, holiday scenes, and special events. The best choice depends on the home’s finishes, the desired atmosphere, and local lighting requirements.
Beam spread and aiming determine where light lands. Narrow beams can highlight tall trees, columns, or vertical architectural details. Wider beams can wash a façade, planting area, or broad stone surface. We shield fixtures where appropriate, direct light downward around paths and activity zones, and avoid aiming lamps into windows or across property lines.
Controls should follow the same zone-based structure as the lighting plan. Entry lights, pathways, patios, landscape accents, and architectural features should operate independently when possible. Photocells, timers, dimmers, motion sensors, app-based controls, schedules, and scene settings all have useful roles. Timers and smart controls reduce unnecessary runtime while making the system easier to use throughout the year.
For properties that need flexible operation, smart lighting automation can place everyday lighting, entertaining scenes, and holiday displays in one manageable control system. Our overview of the benefits of smart lighting explains how connected controls support convenience without changing the fundamentals of good fixture placement and aiming.
We also check municipal rules and local dark-sky guidance before finalizing output, aiming, schedules, and color settings. Good lighting respects the night environment and the people living nearby.
Decide Whether DIY, Low-Voltage, or Permanent Smart Lighting Fits the Goal
We can complete several planning tasks before installation begins. We can identify priorities, map zones, record electrical access, list desired effects, photograph trouble spots, and collect inspiration images. These steps make professional design conversations more efficient and help prevent unnecessary additions later.
Electrical work, roofline installation, wiring routes, transformer sizing, system controls, and whole-property lighting design often need qualified evaluation. This is especially important where the work involves fixed wiring, elevated access, concealed components, weather exposure, or integration with existing electrical systems. Our comparison of DIY versus professional lighting outlines where simple projects may work well and where experienced installation provides stronger long-term value.
Permanent outdoor lighting fits homeowners who want year-round architectural illumination, integrated roofline lighting, dependable holiday displays, app control, and a clean daytime appearance. A permanent outdoor lighting system can also simplify seasonal setup and removal. It is not necessary for every property. Low-voltage landscape fixtures, replaceable seasonal lights, and basic patio lighting can be suitable for smaller goals or limited coverage areas.
We assess durability, weather exposure, maintenance access, installation workmanship, future expansion, control reliability, and how components fit the home. Investment varies by property size, system type, installation complexity, local labor, controls, and the desired coverage. A clear plan helps us spend where performance and appearance matter most.
Review Installation Requirements, Local Rules, and the Final Plan
Before installation, we confirm power sources, transformer or electrical-panel needs, wire routes, junction locations, roofline access, drainage, landscape changes, and future service access. Fixtures must suit the local climate and their exposure to rain, heat, cold, irrigation, salt air, or debris. Material quality, corrosion resistance, weather ratings, and serviceability all affect long-term performance.
We check local electrical codes, homeowner association requirements, municipal lighting rules, and dark-sky guidance before approving the final design. These checks protect the investment and reduce the chance of costly changes after work begins.
Create a Zone-by-Zone Schedule
The final outdoor lighting plan should document each zone in a simple schedule. For every path, entry, patio, landscape feature, façade section, and roofline, we record the purpose, fixture type, approximate placement, desired brightness, color temperature, beam direction, shielding needs, control method, operating schedule, and whether professional installation is required.
After installation, we conduct a nighttime test from the driveway, front walk, patio, interior rooms, and property edges. We check for glare, uneven coverage, excessive brightness, hidden trip hazards, light entering windows, and spill into neighboring spaces. Adjusting aiming, dimming, timing, or shielding at this stage turns a good design into a dependable one.
A well-executed home outdoor lighting plan balances appearance with safe navigation, visible entry access, outdoor living use, maintenance access, weather exposure, electrical requirements, and respect for nearby homes. We can review those details through our lighting installation process and build a system that performs reliably in every season.