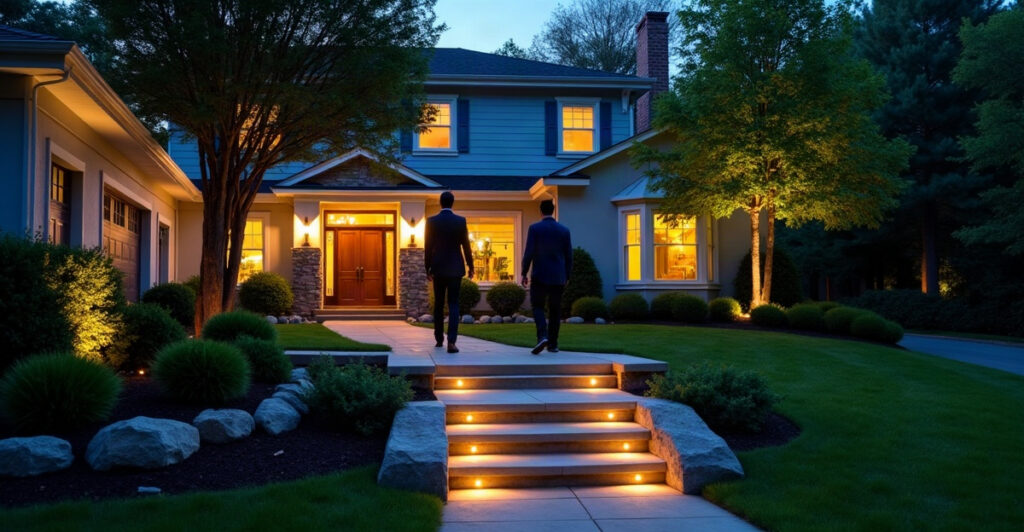
Security Lighting for Homes: Where Should Fixtures Be Installed?
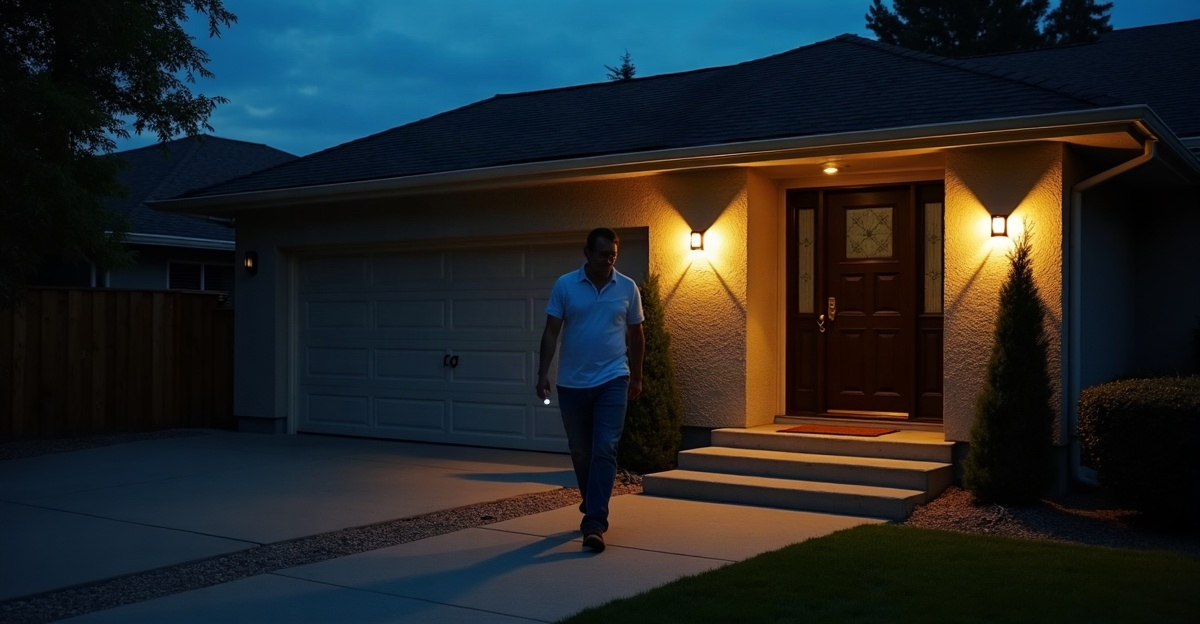
Home security lighting should focus on vulnerable access points, including front and rear doors, garage service doors, side gates, basement entries, and routes from parking areas to the house. We recommend an after-dark walk-through before choosing fixtures. It reveals dark areas, camera coverage gaps, safer walking routes, power options, and motion-sensor triggers.
Key Takeaways
- Install lighting first at main entrances, secondary doors, side yards, gates, driveways, and pathways with steps or changes in elevation.
- Match each fixture to its location: use sconces at entrances, motion-activated floodlights for wider approaches, and low-level lights along paths and stairs.
- Direct shielded fixtures downward to light locks, faces, walking surfaces, and camera views while limiting glare and light spill onto neighboring properties.
- Test motion sensors and cameras together after dark. Then fine-tune the sensor range, sensitivity, fixture angle, and activation time.
- Confirm weather ratings, local lighting requirements, available power, and maintenance access before installation.
Start With an After-Dark Property Walk-Through
Effective security lighting is strategic, not simply brighter. We plan every fixture around a clear purpose: safe navigation, access-point visibility, camera support, deterrence, or curb appeal.
Before buying security lighting for homes, we walk the property after dark. Daylight hides the gaps that matter most at night. We note every entrance and exit, dark corner, concealed area, and route between parking spaces and doors. We also check camera views, side gates, service doors, basement entries, sheds, detached garages, existing fixtures, outlets, wiring, trees, and likely causes of false sensor activation.
Outdoor security lighting for homes works as one layer of a wider security plan. Secure doors and locks, trimmed landscaping, visible house numbers, cameras or alarms where appropriate, and consistent daily habits all remain important. For planning ideas that connect safety with practical exterior design, review these security lighting ideas.
Pre-Purchase Home Security Lighting Checklist
Use this checklist during the after-dark walk-through:
- Which access points need clear visibility?
- Which routes need safe walking light?
- Where are cameras located, and what do they need to capture?
- Where could a fixture create glare or disturb neighbors?
- What power source is available at each location?
- Could pets, trees, traffic, or wildlife trigger motion sensors?
- Do local rules, dark-sky requirements, or HOA restrictions apply?
- Can we test, aim, clean, and maintain each fixture easily?
Where Security Lights Should Be Installed First
We prioritize vulnerable access points and the routes people use around the property before lighting large open spaces. A bright backyard will not help much if a side gate, garage service door, or path from the driveway remains dark.
| Property zone | Lighting priority | Recommended approach |
|---|---|---|
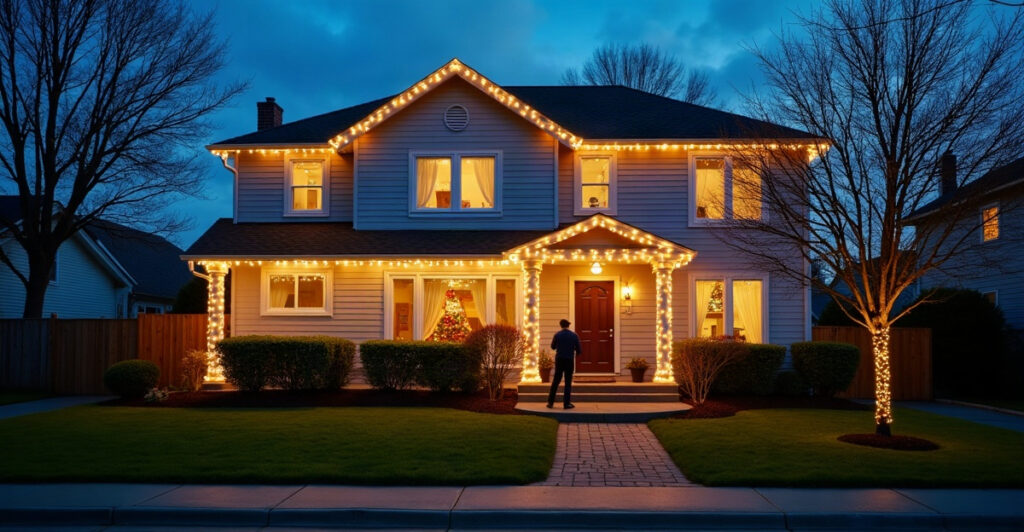
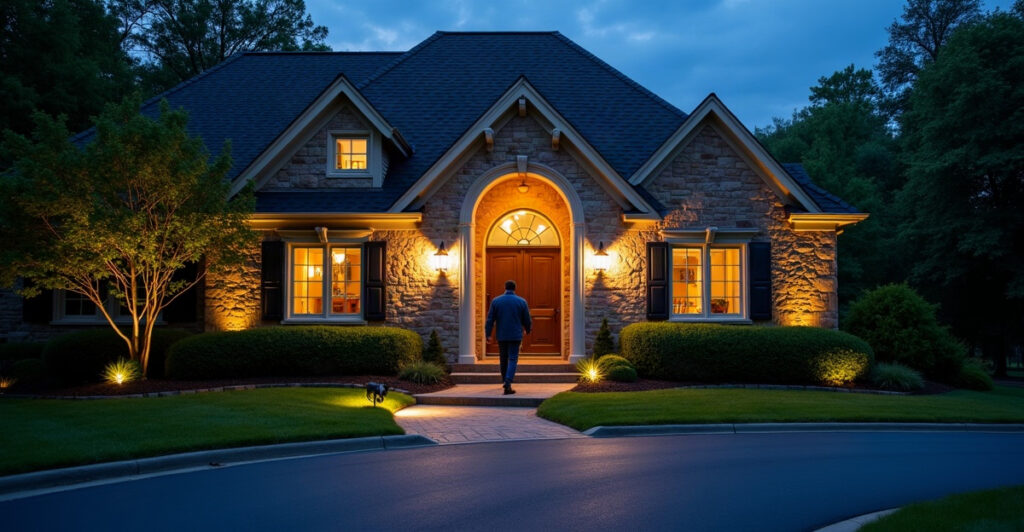
| Front door and porch | High | Provide even light around the lock, steps, doorbell, and address number. Position fixtures so they illuminate faces and footing without shining into visitors’ eyes. |
| Driveway and parking area | High | Light the route from vehicles to the home, garage approach, and connected walkways. Use controlled beams that stay off the street and out of nearby windows. |
| Garage and service door | High | Cover the main garage approach plus side and rear service doors. These secondary entries often receive too little attention. |
| Side yards and side gates | High | Use shielded, targeted fixtures for narrow access routes. Set sensors carefully so passing traffic does not activate them repeatedly. |
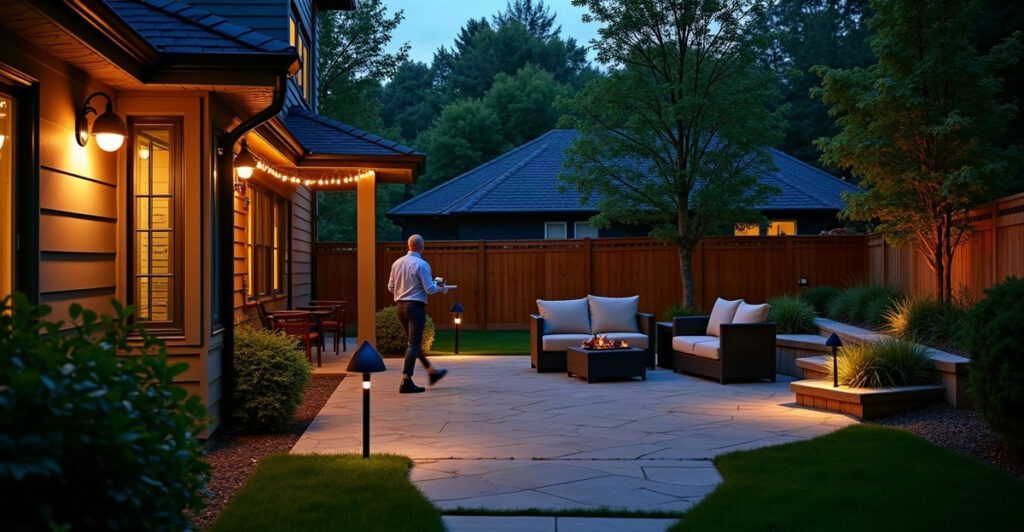
| Back door, patio, and backyard | High | Light rear entries and travel routes without blanket-flooding the entire yard. Separate patio ambience from access-point lighting where possible. |
| Pathways, steps, and grade changes | High for safety | Use low-level, downward-directed path or step lights. High-output floodlights can create glare and make footing harder to judge. |
| Basement access and utility areas | Medium to high | Add a dedicated fixture or motion-activated light for basement doors, crawl-space entries, utility equipment, and other low-traffic access points. |
| Sheds and detached structures | Medium to high | Light doors, approaches, and the route back to the home. Motion activation often suits limited-use structures well. |
A balanced plan covers more than the front door and driveway. We assess rear entries, side gates, basement access, detached buildings, and every regular route between parking areas and the home. Well-planned security lighting installation helps us cover these zones without turning the property into an overlit space.
Match Fixture Types to the Location and Lighting Purpose
The best outdoor security lighting for homes uses different fixture types for different conditions. A driveway needs a different solution than a front step, side gate, or patio door.
Fixture Comparison
| Fixture type | Best use | Strengths | Limitations and placement cautions | Control options |
|---|---|---|---|---|
| Motion-activated floodlights | Driveways, garage approaches, rear entries, and detached structures | Provides on-demand light and can reduce overnight operating time. | Can cause glare, deep shadows, light trespass, and false triggers if aimed poorly. Blanket floodlighting should not be the default. | Motion range, sensitivity, time-on settings, smart controls |
| Dusk-to-dawn fixtures | Porches, entrances, address numbers, and regularly used doors | Maintains consistent visibility without manual operation. | May waste light in low-use areas if left at full output all night. | Photocells, timers, dimming, smart schedules |
| Wall sconces | Front doors, back doors, patios, and garage service doors | Creates even, localized lighting for safe entry and camera visibility. | Select shielded designs and positions that do not shine directly into people’s eyes. | Switches, photocells, dimmers, smart controls |
| Pathway and step lights | Walkways, stairs, grade changes, and parking-to-door routes | Supports safe navigation with downward-directed light. | Usually cannot serve as the sole light source for an entry point. | Timers, photocells, low-voltage controls, smart controls |
| Smart outdoor lighting | Homes needing zones, schedules, dimming, overrides, or device integration | Allows adjustments after installation and flexible daily control. | Requires compatible power, reliable connectivity, and ongoing device or app support. | Schedules, scenes, app control, automation, manual override |
| Solar-powered fixtures | Low-level path lighting and limited-use locations without practical wiring | Does not require a hardwired circuit. | Output depends on daylight exposure, weather, battery condition, and seasonal daylight. | Built-in photocells and limited fixture controls |
Wall sconces and low-level fixtures can also strengthen the home’s appearance while maintaining useful coverage. We can combine security goals with front-of-house lighting ideas for an entry that feels inviting after dark.
Position Fixtures, Beams, and Motion Sensors for Useful Coverage
The best outdoor security lighting for homes depends on the location and desired result, not maximum lumens alone. Lumens measure the amount of visible light a fixture produces. Beam spread, also called beam angle, describes how broadly or narrowly that fixture distributes light.
Color temperature describes the apparent warmth or coolness of light. Motion sensitivity refers to how readily a sensor activates when it detects movement. Light trespass means unwanted light spilling onto another property or into a neighbor’s windows. An IP or weather rating indicates how well a fixture is protected from weather and moisture.
We compare output, beam angle, shielding, downward direction, mounting height, aiming angle, sensor range, detection zone, time-on settings, color temperature, weather rating, power source, controls, and maintenance needs. Hardwired, plug-in, battery, and solar fixtures each suit different locations.
We do not prescribe one lumen level or mounting height for every home. Fixture output and placement depend on ambient lighting, beam spread, property size, nearby surfaces, mounting locations, and local requirements.
For motion detection, we generally aim sensors across an expected path of travel instead of directly at it where appropriate. This approach can improve detection consistency. We keep sensors away from busy streets, moving branches, reflective surfaces, pet areas, and wildlife corridors. After installation, we test at night and adjust sensitivity, range, and run time.
Lighting can improve usable camera footage, but poor placement can create glare, lens flare, overexposure, and harsh shadows. We test lights and cameras together after dark, then refine the fixture angle, output, or sensor settings. Connected systems make those adjustments easier; learn how smart outdoor lighting benefits can support schedules, zones, and manual control.
Control Glare, Light Trespass, and Unnecessary Overnight Lighting
More light is not always better. Excessive brightness can create glare that makes it harder to see beyond the fixture, while strong contrasts can leave deep shadows around the property. It can also waste energy and disturb nearby households.
We use shielded, downward-facing fixtures wherever practical. The goal is to place light on locks, steps, gates, walking surfaces, and access routes rather than into the sky, street, or neighbors’ windows. Focused beams and thoughtful aiming produce better results than indiscriminate floodlighting.
Timers, dimming, motion controls, and smart schedules reduce unnecessary all-night operation. A front entry may benefit from low, steady dusk-to-dawn lighting, while a side yard might work better with a carefully aimed motion fixture. Patio lighting may need softer output than a garage service door.
Dark-sky practices support this targeted approach. We direct light only where it serves a real purpose and avoid upward-facing or unshielded fixtures. Before installation, we check municipal ordinances, HOA requirements, and any local dark-sky rules. A fixture accepted in one neighborhood may not be permitted in another.
Each lighting objective needs its own plan. Deterrence, safe navigation, camera image quality, and aesthetics can require different brightness levels, beam directions, color temperatures, and control methods. For coordinated walkways, planting beds, and outdoor living areas, outdoor landscape lighting ideas can help us create a unified design.
Installation, Safety, and Maintenance Considerations
We recommend a qualified electrician for new hardwired circuits, exterior electrical work, outdoor-rated wiring, permit requirements, and code compliance. Electrical safety and weather protection matter as much as fixture selection. Compare the scope before deciding between DIY and professional installation.
We confirm that each fixture suits its exposure level. Areas exposed to rain, snow, wind, irrigation, or heavy sun need appropriate weather ratings and durable materials. We also identify the available power source before choosing the fixture, since a strong lighting plan can fail if the selected product does not suit the site’s wiring or solar exposure.
Ongoing care protects performance. We clean lenses so dirt and insects do not reduce usable output. Battery-powered and solar fixtures need periodic battery checks and replacement. We test photocells, timers, smart controls, and motion sensors seasonally. Landscaping growth, storm damage, and camera adjustments can all change coverage, so we re-aim fixtures as conditions change and trim vegetation that blocks light or triggers sensors.
For whole-property projects, professional residential lighting installation gives us a safer, cleaner way to coordinate exterior power, fixture placement, controls, and long-term maintenance.